Matrix Screen, Logon Puzzle, Video Reveal
03/13/2018
Puzzle Summary
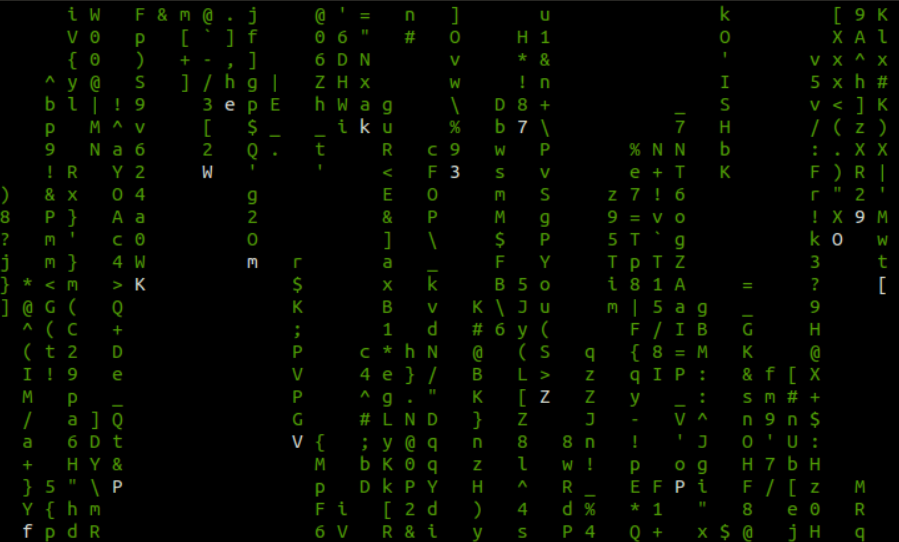
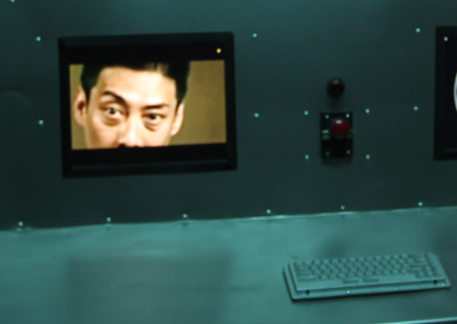
Imagine a computer monitor in the room with the matrix screen actively displaying.
A keyboard on the table or on control panel.
When a key is pressed, the screen breaks into a logon screen. Something from the department of defense. The screen asks for a login (username).
The user name and password are found by solving other clues. Participants attempt to “hack” into the computer, but without the proper credentials, they fail to solve the puzzle.
When the correct credentials are entered, a video is played. The video loops over and over. The video can be paused by hitting the space bar.
The video is something interesting like a captain’s log or a “Lost TV show” clip of the Dharma project.
The whole setup is put into motion when the Raspberry Pi starts up.
Parts
Raspberry Pi with power supply (Amazon)
Mini SD card
Computer monitor (with DVI input)
HDMI to DVI cable (for monitor hookup) (Amazon)
Kiosk Keyboard (without control keys) (Amazon)
PS/2 Keyboard/Mouse to USB Adapter (Amazon)
mp4 video clip
Prerequisites
Install a Linux operating system (Raspbian) on an SD card and boot your Raspberry Pi.
Install an FTP client like FileZilla to transfer files to and from the Raspberry Pi.
Setup
The default user name and password for the Raspberry Pi is
pi/raspberry
You will want to give your Pi a host name so you can later SFTP or SSH into it.
Use the following command to change the host name in the UI.
sudo raspi-config
Install samba
sudo apt-get -y install samba

sudo apt-get update
Setup Keyboard
You will want to change the default keyboard layout to US.
sudo nano /etc/default/keyboard
and change the value for this setting to "us". i.e.
XKBLAYOUT="us"
Installs
Install the cmatrix terminal command
sudo apt-get install cmatrix
Video loop
Use omxplayer to play the video.
In your startup script, you will use a command like
omxplayer --loop -r -b -o local /media/pi/video.mp4
-o local indicates you want sound to be outputted through the Raspberry Pi’s mini audio jack. If you use –o hdmi, it will pipe the audio out the HDMI cable.
Java Program
Java runs on the Raspberry Pi. So let’s use Java for the logon screen simulation.
package com.rusty;

import javax.swing.*;
import java.awt.*;
import java.awt.event.ActionEvent;
import java.awt.event.ActionListener;
import java.util.Random;
import java.io.BufferedReader;
import java.io.IOException;
import java.io.InputStreamReader;
import java.net.InetAddress;
import java.net.UnknownHostException;
import java.util.Date;
import java.text.DateFormat;
import java.text.SimpleDateFormat;
import java.util.Calendar;
import java.util.Scanner;
import java.lang.Thread;

/**
 * Created by Rusty on 7/13/2016.
 */
public class LogonTerminal
{
    public static void main(String[] args)
    {
            Runtime.getRuntime().addShutdownHook(new Thread()
            {
                public void run()
                {
                    try {
                        Thread.sleep(200);
                        System.out.println("&^%@#!&^!&@*! ...");
                        //some cleaning up code...

                    } catch (InterruptedException e) {
                        // TODO Auto-generated catch block
                        e.printStackTrace();
                    }
                }
            });


			InetAddress ip;
			String hostname;
			String ipAddress = "127.0.0.1";
			try
			{
				ip = InetAddress.getLocalHost();
				hostname = ip.getHostName();

				ipAddress = ip.getHostAddress();

			}
			catch (UnknownHostException e)
			{
				e.printStackTrace();
			}

            DateFormat df = new SimpleDateFormat("MM/dd/yy HH:mm:ss");
            Date dateobj = new Date();
            String currentDate = df.format(dateobj);

            Calendar cal = Calendar.getInstance();
            cal.add(Calendar.DATE, -7);
            Date todate1 = cal.getTime();
            String lastLogon = df.format(todate1);

            Scanner s = new Scanner(System.in);

            String command = "clear";
            Process proc = null;
            StringBuffer buf = null;
            String pass = null;
            int cnt = 0;
            int cnt2 = 0;
            Boolean invalid = false;
            String user = null;

            System.out.println("####################################################################");
            System.out.println("#                Welcome to the Department of the Navy             #");
            System.out.println("#            All connections are monitored and recorded            #");
            System.out.println("#    Disconnect IMMEDIATELY if you are not an authorized user!     #");
            System.out.println("####################################################################");

            while (user == null || user.isEmpty() || invalid)
			{
                buf = new StringBuffer(128);

                if (invalid)
                {
                    cnt++;

                    if (cnt > 10)
                    {
                        cnt = 0;
                        System.out.print("\033c"); // clear the screen
                    }

                    buf.append("*** Invalid user name or password\n");
                    invalid = false;
                    user = null;
                    pass = null;
                }

                buf.append("login as: ");
                System.out.printf(buf.toString());
                user = s.nextLine();

                if (user != null && !user.isEmpty())
				{
                    while (pass == null || pass.isEmpty())
                    {
                        cnt2++;
                        if (cnt2 > 10)
                        {
                            cnt2 = 0;
                            System.out.print("\033c"); // clear the screen
                        }

                        buf = new StringBuffer(128);
                        buf.append(user);
                        buf.append(" ");
                        buf.append(ipAddress);
                        buf.append("'s password: ");

                        System.out.printf(buf.toString());
                        pass = s.nextLine();
                    }
                }

                if (!user.equalsIgnoreCase("username") || !pass.equalsIgnoreCase("password"))
				{
                    invalid = true;
                }
            }

            buf = new StringBuffer(128);
            buf.append("Last login: ");
            buf.append(lastLogon);
            buf.append(" from ");
            buf.append(ipAddress);

            System.out.println(buf.toString());

            try
			{
                Thread.sleep(1000);
            }
			catch (java.lang.InterruptedException e)
			{
            }
    }
}
Scripts
You will need to create some scripts to run things on the Raspberry Pi’s boot.
Create a directory to store your scripts. i.e. /home/pi/matrix and create the two files listed below.
This script (below) is the one you reference in the auto start script in the next step. The first line of the script moves the mouse out of the way then calls a 2nd script.
matrix.sh
xdotool mousemove 300 250 click 1

lxterminal --geometry=160x100 -e sh matrix-run.sh
This script (below) runs the matrix program first. When the matrix program is interrupted (i.e. key pressed), the Java program is ran to ask for user credentials. Once the correct user credentials are entered, the next part of the script plays the video. If the user breaks out of the video, the video restarts (hence the while loop).
matrix-run.sh
cmatrix -s

cd /home/pi/java

java -classpath ./classes:. com.rusty.LogonTerminal

while true; do
omxplayer --loop -r -b -o local /media/pi/OrientationVideo.mp4
done
Notes: Your Java program as well as the Java runtime environment, needs to be installed and your class path will need to be altered as needed.
You will need to FTP your video to the media directory of the Pi or another directory and make the proper reference in the script. The video shouldn't be too large (file size or scale size) as it could affect play back performance.
You will need to make the permissions on your script files so that it can be executed. Give execute permissions to user pi. i.e. sudo chmod
Auto start
You will need to setup the Pi to run your logon program/script on start up. You will also want to keep the Raspberry Pi’s display from sleeping, powering down, going blank, or displaying a screen saver.
Edit the following configuration file to add your starting script.
/home/pi/.config/lxsession/LXDE-pi/autostart
add these lines underneath the screensaver line already in the file. These commands will keep the screen saver and other features from being used.
@xset s off
@xset -dpms
@xset s noblank
@/home/pi/matrix/matrix.sh
Resting the Puzzle
Ideally, your Raspberry Pi can be reset (rebooted) by recycling its power or by secure shell into the Pi and restarting.